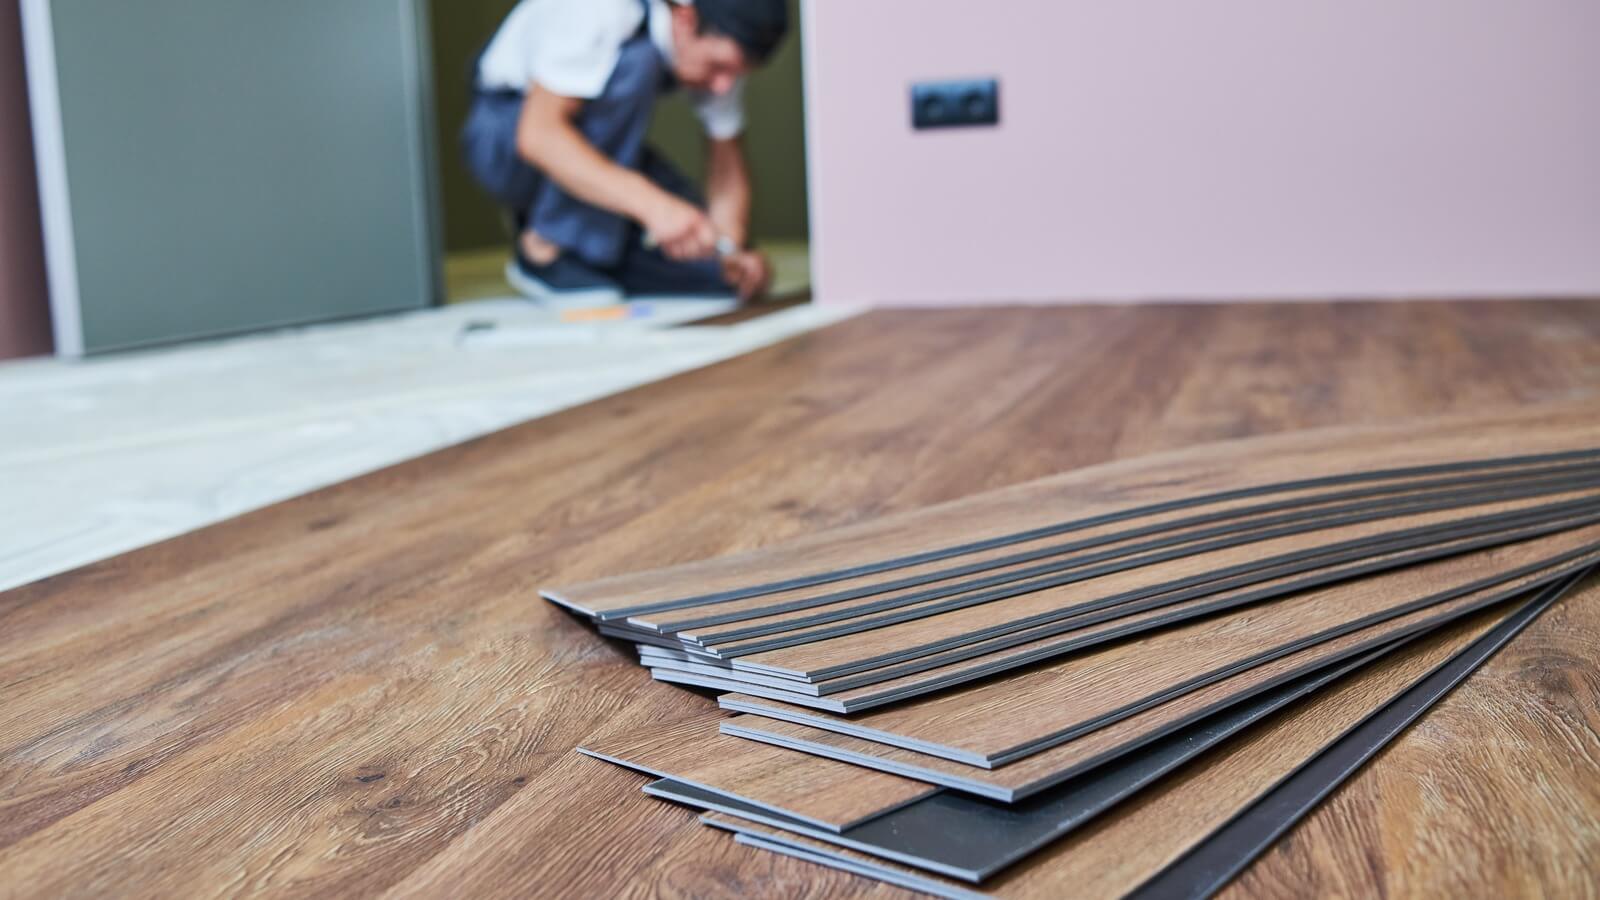
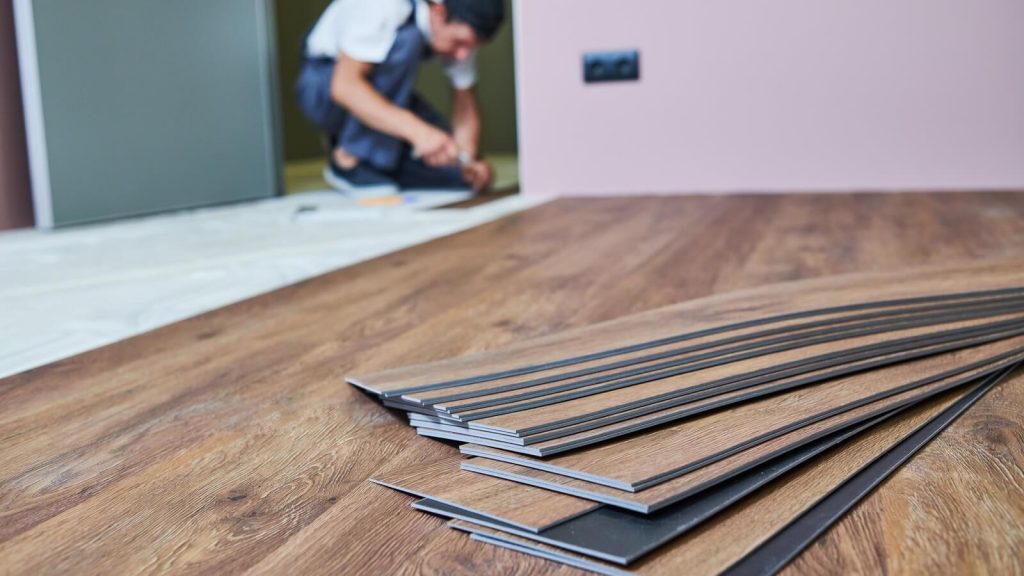
Lay The Laminate Correctly
It is possible to lay the laminate yourself at home. You can successfully lay your laminates by following the 11 steps in the article.
1- Preparation of the laminate floorboards
- Store laminate horizontally
- Acclimate laminate
Before laying, laminate needs at least 48 hours to acclimatize. You therefore store the
laminate planks unpacked and horizontally at a minimum temperature of 18 °C and at a humidity of 50% to a maximum of 70%. It is advantageous to store the laminate in the same room in which you will later lay it.
Tip: Laminate consists of hardboard, which swells when it comes into contact with water and can increase in volume by 30% to 40%. So that you can enjoy your new floor for a long time, you should only use water sparingly when cleaning and also use laminate cleaner.
2- Prepare the substrate for the laminate
- Clean floor
- Remove old adhesive and mortar residues
- Check floor for bumps
First, make sure your subfloor is completely dry, free of grease, dust, and level. Residual moisture in the floor and unevenness of more than 3 mm per meter can cause your laminate to warp and crack or break at the tongue and groove connection. So first carefully remove old adhesive and mortar residues with a spatula, vacuum the floor completely and then clean it thoroughly. Fill larger cracks and holes in the floor, sand them smooth and then vacuum the area again.
3- Lay impact sound insulation
- Check for unevenness with a straightedge
- Lay a vapor barrier if necessary
- Lay impact sound insulation
Now check the floor for unevenness with a straightedge, clean it and, if necessary, level it with leveling compound after it has dried. In this case, let the compound dry completely and only then lay the vapor barrier. In our case, we don’t have to lay the vapor barrier separately because it was already installed under the dry screed.
Laminate is always laid in a floating manner, which means that the planks are not firmly attached to the subfloor, they just lie on it – they float, so to speak. Before you lay the floorboards, however, there is footfall sound insulation on the floor. Insulation made of natural fiber boards is ideal, because they are particularly strong and soundproof.
4- Lay the first row of laminate
- Remove the tongue or groove of the first laminate row
- Note the spacing gap to the wall
When laying your first row of laminate, you basically have two options: either you lay it directly against a wall or in the middle of the room on a transition rail. In both cases, align your laminate planks parallel to the incidence of light, i.e., so that the long sides follow the direction of the light, and place spacer wedges between the planks and walls to maintain an expansion gap of 10 mm to 15 mm. The resulting gap is then covered by the baseboards.
When installing your first row of laminate, you can use a transition rail that saves you from having to cut off the tongue on the first row of planks. Place the rail directly against the wall and keep the expansion gap between the rail and the laminate floorboards. If you are laying without a transition rail, you must first use a jigsaw to cut off the tongue on the long side of your first row of planks facing the wall. Then place the planks one after the other directly against the wall with the spacer wedges and lock them as described above.
 5- Cutting the laminate panels
- Measure and record the required length
- Cut with a laminate cutter, circular table saw or jigsaw
Always plan your rows of boards so that the row ends are at least 20 cm long. This not only makes your floor more stable; it also makes it look better after installation. To cut the end pieces, simply place the plank on the wall rotated 180° and mark the required length minus your expansion gap with a square and pencil. Then you shorten the plank with the laminate cutter – or alternatively a circular saw or jigsaw – to the required length and pull it to the first row of planks with the pull bar.
6- Lay more rows
- Lay the laminate with a gap of 10 mm to 15 mm to the walls
- Joint offset
Also, with all other laminate rows you leave 10 mm to 15 mm distance to the walls for the expansion gap. From this point on, also make sure that no joints form when laying, as these become more pronounced with each additional row. The joint offset in the next row should therefore always be at least 40 cm.
7- Click in laminate
- Lay out laminate planks
- Tap in with a hammer and tapping block
Laying laminate is comparatively easy with click laminate. The planks snap into place with the help of a special lock. To do this, place the next plank very close to the previous one. Then you lock the two together with a hammer and tapping block. You always fold in the planks first lengthwise and then crosswise. Make sure that there are no gaps when tapping. Because even small tilts are transferred to the following floorboards.
8- Tie in heating pipes when laying
- Saw out drill holes
- Cut off the piece of laminate around the holes
- Lay the laminate floorboard
- Glue the remaining piece behind the pipes
To also lay the panels around heating pipes, mark the drill holes for the heating pipes on a
piece of laminate. You take into account the pipe diameter plus 20 mm diameter. You saw out these circles with a suitable Forstner bit and a jigsaw. Then you lay the floorboard and then glue the small piece behind the pipes to the floorboard.
Transfer recesses for door frames to the floorboards and cut them with a laminate cutter or alternatively with a hand saw, jigsaw or multitool. After laying, seal the gap between the floorboard and the door frame with acrylic.
9- Lay the last row of laminate
- Cut planks lengthwise
- Use pull iron to adjust
For the last row, you usually cut the planks lengthwise. You determine the required width, consider the spacing gap and saw the planks accordingly. A pull bar will help you fit the planks into the row.
10- Attach baseboards
- Remove spacer wedges between walls and floorboards
- Cut skirting boards to the exact angle
- Glue skirting boards with assembly adhesive
Once your laminate floor has been completely laid, you now remove the spacer wedges between the walls and floorboards. Then you measure the required lengths of your foot or baseboards and cut them to size with a miter saw. Alternatively, this can also be done with a hand saw and miter box, but it is much more strenuous.
You attach the skirting boards you have cut to size to the wall with assembly adhesive and then attach the radiator rosettes to cover your pipe openings: Lay the rosettes loosely, mark how much you need to shorten them towards the skirting board, cut them accordingly and then attach them on.
11- Attach transition rails for laminate
- Install transition rails
- Pay attention to expansion gaps between laminate floors
With transition rails you conceal the transition from the laminate to carpets and spacer joints. Depending on the system, you attach the strips to the floor so that they cannot slip. If there is also laminate in the adjoining room, leave an expansion gap here as well. You then cover the spot between the panels with suitable transition rails for gluing, screwing or snapping in.
After completing these processes, you will have successfully completed your
laminate flooring.
 5- Cutting the laminate panels

